Update on 7th January 2025
Mitra is part of the Fediverse. Aiming at small to micro server size, alternative to Pleroma, Gotosocial, and Takahē.
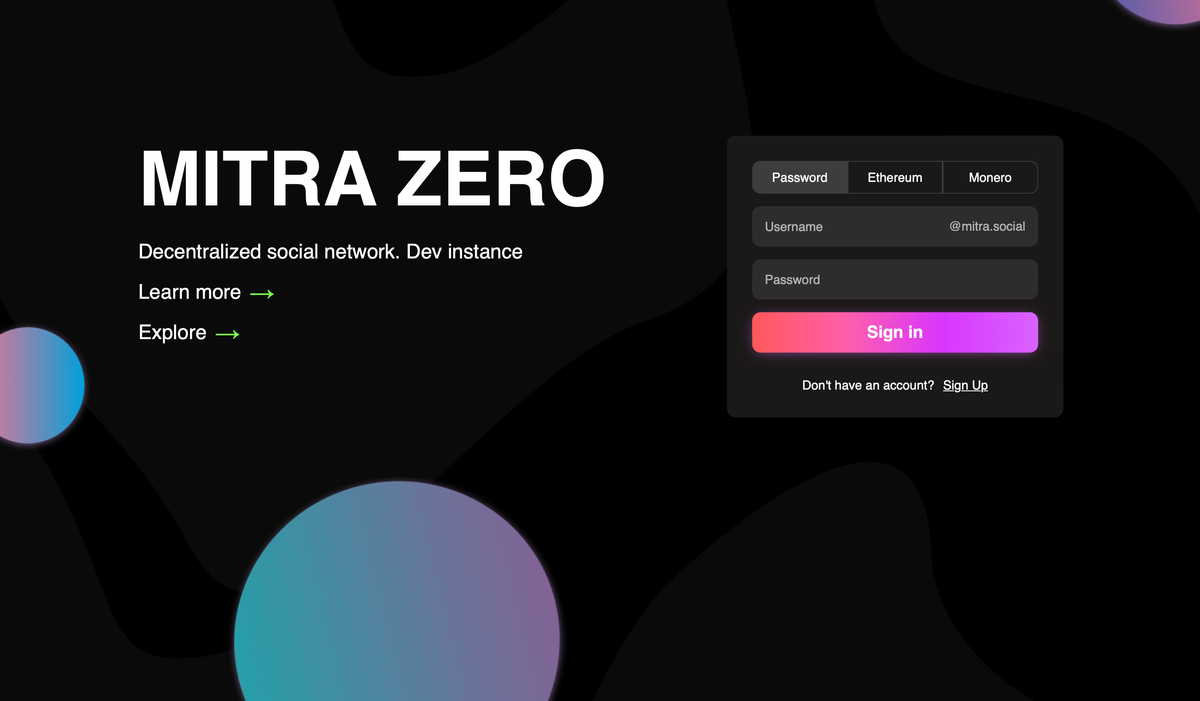
The reason I choose Mitra is the concise web design and the super easy installation method.
The Server Specification:
- Ubuntu 22.04 LTS
- 1GB RAM.
Installation Steps by Steps
The easiest method for Mitra installation, the Debian package, will be used.
Login into your server and download the latest Debian package from the release page.
 silverpill
- Use your method to login the server.
(most cloud provider now forbid to log in as root user, so all command before will be based on a non-root user, except otherwise specified)
SSH buck@123.123.123.123Other method
In my case, cause I set up the key based login, so here is my command line:
ssh -i ~/path/to/the/key username@123.123.123.123
- Copy the latest release download link from the release page.
sudo wget https://codeberg.org/silverpill/mitra/releases/download/v2.18.0/mitra_2.18.0_amd64.deb(When I'm writing this, the latest is v2.18.0)
- Install the Mitra package that you dowloaded in the current directory
sudo dpkg -i mitra_2.18.0_amd64.deb- (Optional) you can delete the package by
sudo rm mitra_2.18.0_amd64.deb, or keep it as a reference of the version.
Install PostgreSQL and then create the database
- Update APT first.
sudo apt update
sudo apt upgrade -y- Install PostgreSQL.
sudo apt install postgresql- Login PostgreSQL
sudo su - postgres
psql- Create database.
CREATE USER mitra WITH PASSWORD 'mitra';
CREATE DATABASE mitra OWNER mitra ENCODING 'UTF8';- Exit PostgreSQL.
\q
exit
Edit the Mitra Configuration file
sudo vi /etc/mitra/config.yaml(You can use the editor you want just replace vi with it.)
As shown on below, find the section, change the example.tld to your actually domain name. (Please keep https://, otherwise it will not works.)
# Domain name
instance_uri: https://example.tld

instance_title: example
instance_short_description: my instance

# Long description can contain markdown syntax
instance_description: |
  # My instance
  Welcome!
Example:
# Domain name
instance_uri: https://your.brother.sucks

instance_title: Your Brother
instance_short_description: Sucks hardly

# Long description can contain markdown syntax
instance_description: |
  # Whatever you want to edit here
  You can change to what ever line you want here.
  Yes, I added another line again.
After editing, save all the change:
press "esc" key on your keyboard. (you can press twice to ensure it works 😏)
then press "shift" key + ":" key together, then "x" then "enter" to save.
Start Mitra
sudo systemctl start mitraYou can also enable it to start when boot up the server.
sudo systemctl enable mitraCreate your admin user
sudo su mitra -s $SHELL -c "mitractl create-user <username> <password> admin"Replace <username> and <password> with your choice.
for example:
sudo su mitra -s $SHELL -c "mitractl create-user buck n5s6d9f9sf0!%# admin"then buck is my username to log in on the website, n5s6d9f9sf0!%# is my password.
Acquiring SSL for HTTPS
I like to keep things neat, so in here we gonna use snapcraft to install certbot.
- Install certbot from snapcraft.
sudo snap install --classic certbot- Test run.
sudo certbot certonly --dry-run --key-type ecdsa -d your.domainReplace your.domain with your domain, for example, buck.al, or if you use a subdomain, sub.buck.al
If this has a successful outcome, then proceed to next step.
- Acquire SSL certificate.
sudo certbot certonly --key-type ecdsa -d your.domain
Wildcard method with Cloudflare
Only try this if you know how to get a Cloudflare DNS API Token
- enable Cloudflare certbot plugin
sudo snap set certbot trust-plugin-with-root=ok
- install Cloudflare certbot plugin
sudo snap install certbot-dns-cloudflare
- Obtain your Cloudflare DNS API Token. (If you don't know how to, please search online or ask AI Bots.
- Save the API Token on server
mkdir -p ~/.secrets && vi ~/.secrets/cloudflare.ini
(This will open a new file, then copy the following content into the file and then save.)
dns_cloudflare_api_token = dsat67832hrniohd78ay3io2thtg93
dsat67832hrniohd78ay3io2thtg93 is just a example, use your own token please.
Don't forgot to set the right and safe file permission:
chmod 600 /home/ubuntu/.secrets/cloudflare.ini
- Acquire SSL certificate
sudo certbot certonly --key-type ecdsa --dns-cloudflare --dns-cloudflare-credentials ~/.secrets/cloudflare.ini -d "your.domain"
Please notice that here your.domain is surrounded by quote, for example, -d "sub.buck.al"
Install and Configure Nginx
- Install Nginx to serve your new instance to the public. (Caddy is more simple for beginner, however I never used it before.)
sudo apt install nginx -y
- Set up Nginx
sudo vi /etc/nginx/sites-available/mitra.conf
Copy all the content in the "Nginx Configuration File" from the link below, then change all example.ltd to your domain, then save.
silverpill- Link files (you don't need to know why, 😼)
sudo ln -s /etc/nginx/sites-available/mitra.conf /etc/nginx/sites-enabled/mitra.conf
- Reload Nginx and Enable it to automatically start on reboot
sudo systemctl reload nginx
sudo systemctl enable nginx
Now you can go to your domain and log in with your username and password.
New Version Upgrade
When there's new version come out, you can upgrade to it very easily.
In the same directory you downloaded the former version Debian package
sudo wget https://codeberg.org/silverpill/mitra/releases/download/v2.20.0/mitra_2.20.0_amd64.debPlease replace the like with the latest version at the time you update mitra.
Install the new package
sudo dpkg -i mitra_2.20.0_amd64.deb(As of the time of writing this step, the latest version is 2.20.0)
Waiting for it to be fully extracted and then don't forget to restart mitra for it to work.
sudo systemctl restart mitra
Now you got the new version running on your server.
Comments ()